
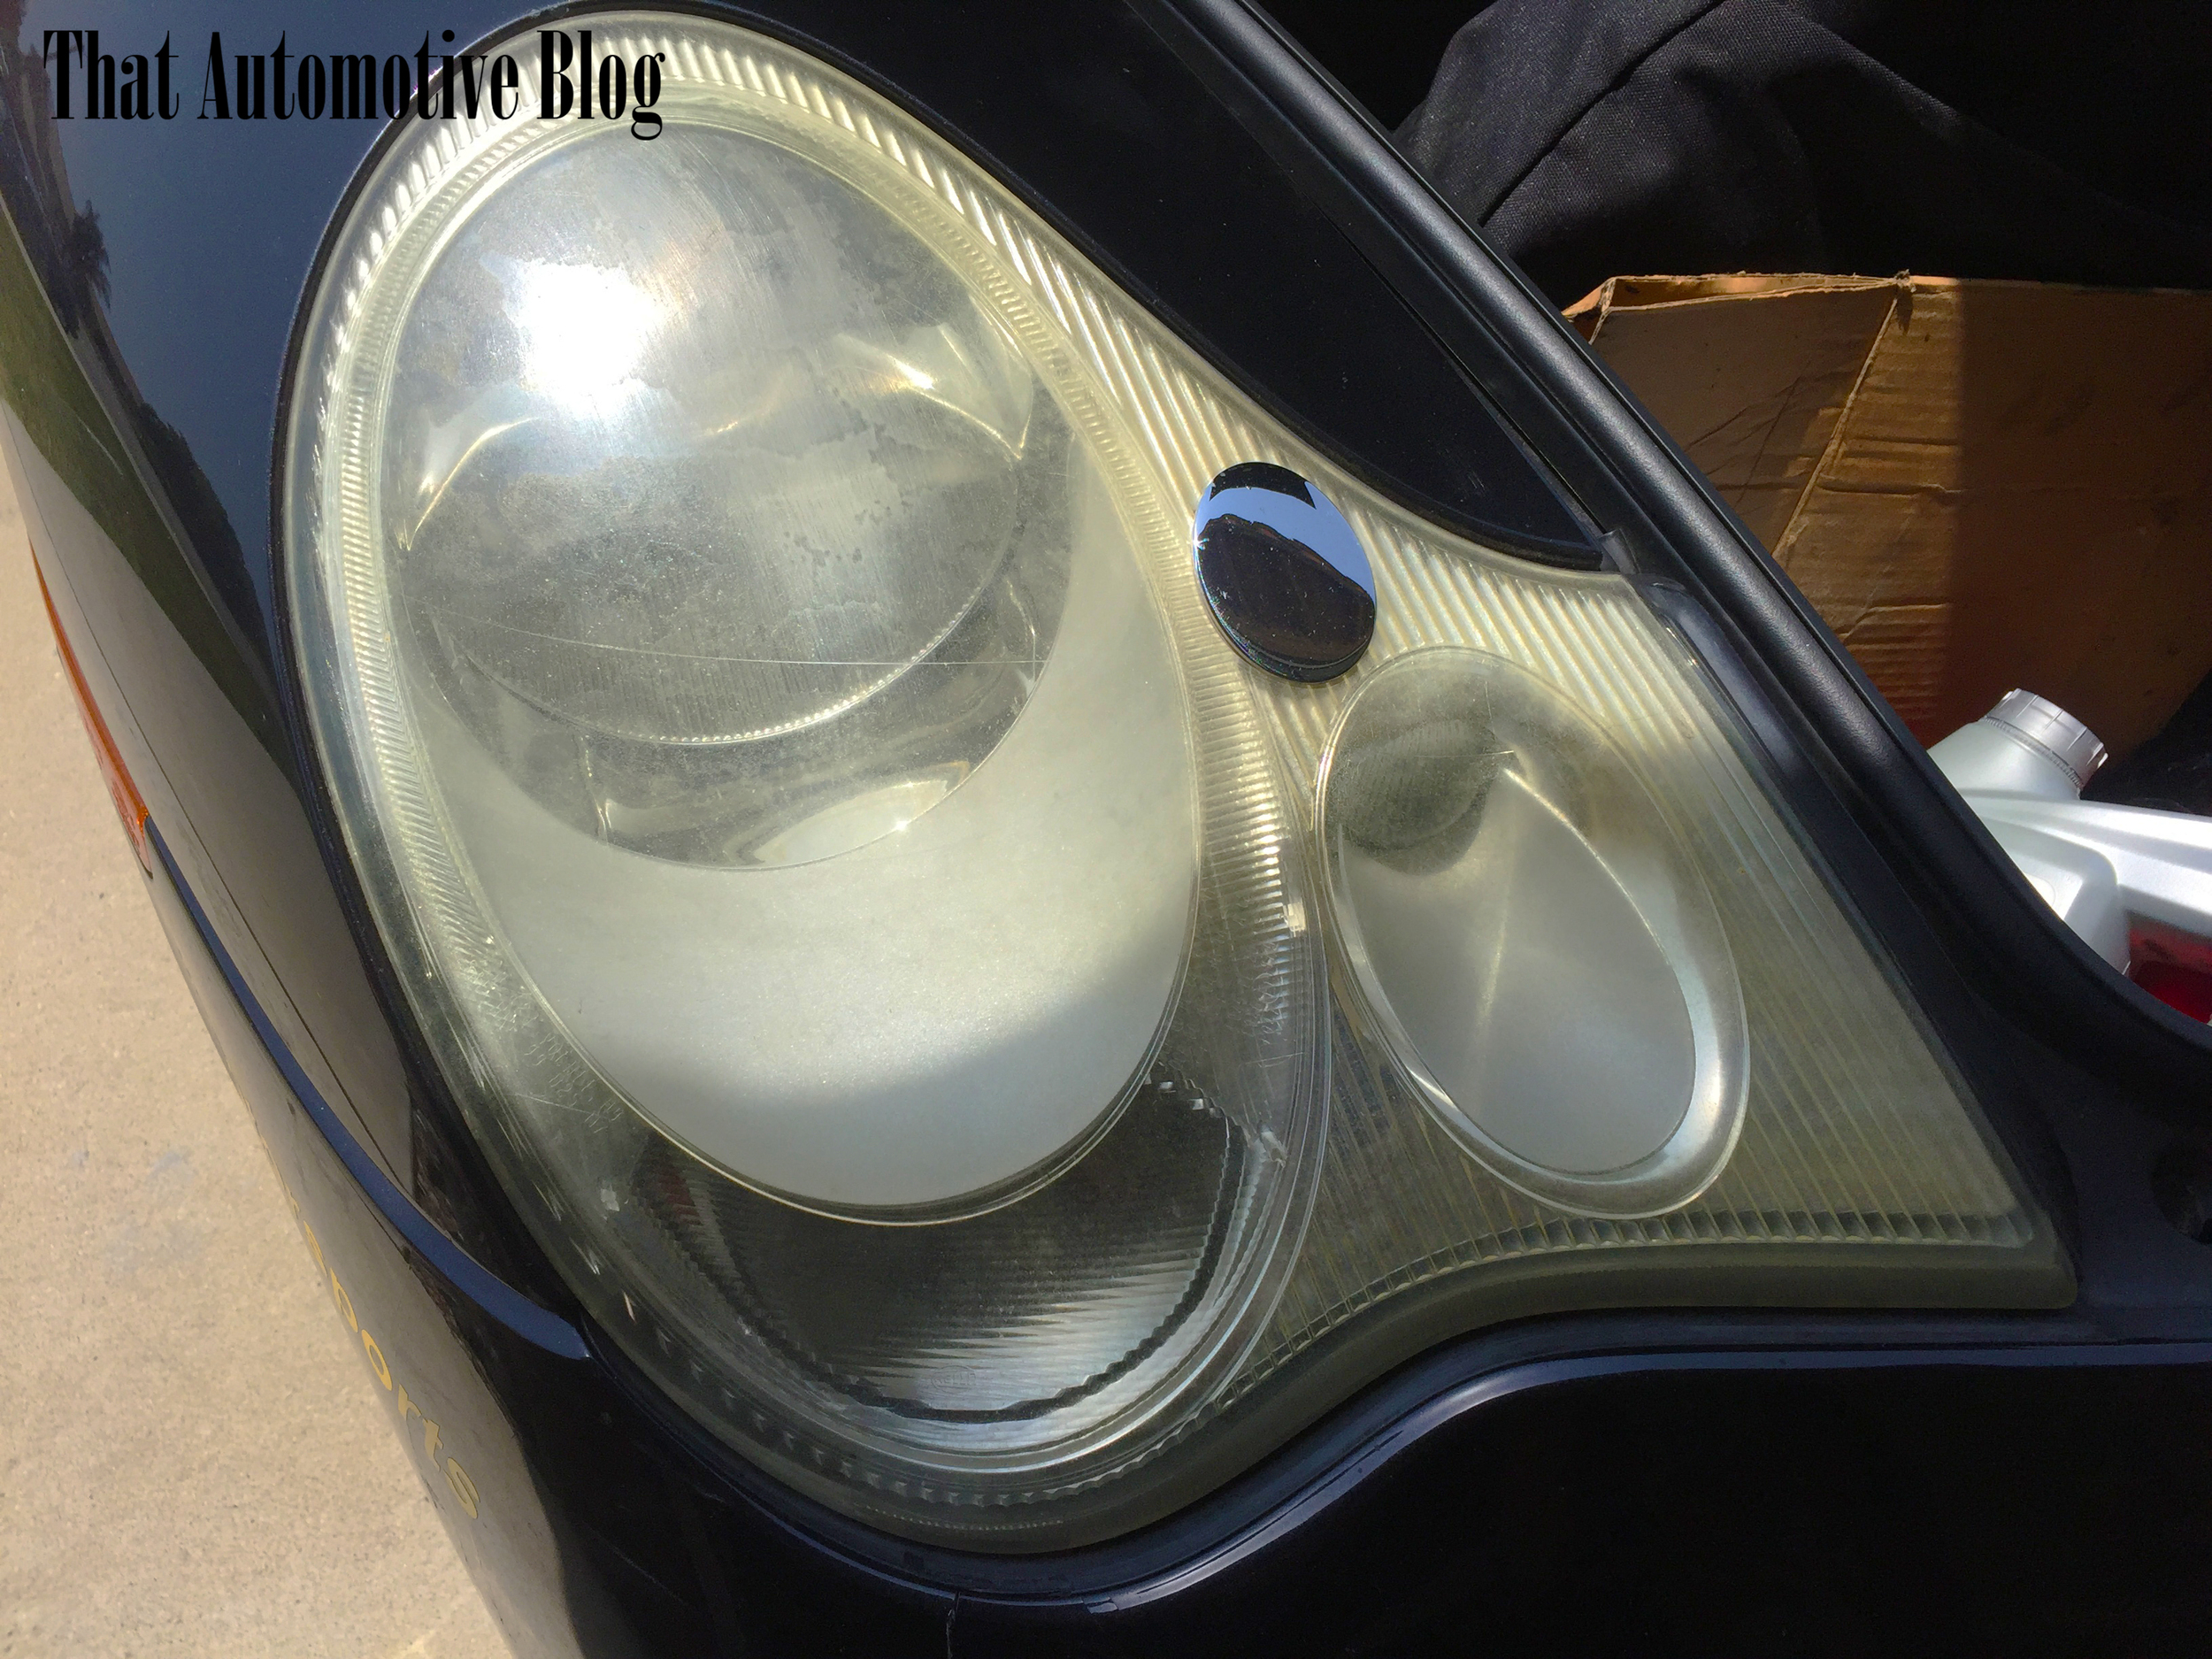
The headlights on my 996 have been in relatively terrible shape since the day I got it. I could tell that it wasn't long since the last time they were restored, mostly thanks to the scratches left on the surface from the sanding. After about a month and a half of driving the car, the clear coat on the lens began peeling, they've become even more yellowed, which in turn made the car look older than it was. I have little to no time to dedicate to this car, since I have to prepare the other car for the next year's Roadster Cup season, and the proper permanent fix can take a long time to complete, and will leave you without headlights for more than a day. In case you're curious, the proper way to do this is to sand the lenses with sand paper ranging from 600 to 3000 grit, and then cover them with UV resistant clear coat. ChrisFix on YouTube has a video which goes over this process in detail, but again, you need to leave your headlights at rest for 24 hours in order for everything to go smoothly (no pun intended). 3M offers a much simpler solution, and it does not take more than a couple of hours out of your day. Of course, as with all things that simplify more difficult tasks and claim to allow for similar results, there is a compromise- it's far from permanent.
For the price, though, it isn't a half bad. All you really need to have is a few microfiber towels, a drill, a squirt bottle and a few hours of your time. The drill does not have to be the best drill on the market, just anything that can spin at 1200-1600 rpm. The kit itself comes with six 500 grit discs, four 800 grit discs, one 3000 grit disc, a disc pad and a buffing disc. 3M also supplied instructions with the kit, however the instructions did not mention wet sanding during the first two stages of the restoration with the 500 and 800 grit discs. If you don't wet sand, the discs will clog up very quickly, and the debris from sanding will leave more scratches than necessary. Although, even when wet sanding, the 800 grit discs clogged up rather quickly, and only 4 were provided with the kit. I managed to use a total of three 800 grit discs, and four 500 grit discs on both lights, but not everyone will have my luck. The final 3000 grit disc is meant to remove leftover scratches from the previous two, and to give the headlight a bit of clarity. This job can be done at home, by someone with little to no knowledge of detailing. The provided instructions, while failing to mention to wet sand the lights in the early stages, are actually very clear otherwise. The process takes about an hour per light, and will clear up the headlights and remove the yellowing as promised. If you have larger headlights or they are severely damaged, you may need more than one kit. I probably needed more than one kit, but figured I could get away with one, and looking back at it, I got lucky. And while the headlights did clear up, to say that the headlights became "like new" again would be a lie. I must say that to me, that is not a problem or a point against this kit, considering it was 16 bucks shipped through Amazon. Now in my case, I did not have to worry about how long the headlights will remain clear, since I'll be covering them in yellow film. 3M states that it's good to do this every few months, making me think that this treatment may last 6 months at best before headlights turn yellow again.
For an average user, however, expect having to re-do this treatment 2-3 times a year. What this kit basically does is take the lacquer that is on the headlight, and remove the topmost damaged layer. Keep in mind that this treatment will not prevent damage through UV, nor will it prevent yellowing. If anything, it will only accelerate the process, because there will be less UV-resistant coating left after you're done. Now, could you lay a coat of clear on there after sanding it down with some 3000 grit? Absolutely. The only issue I see is the circular motion of the sanding discs, which would increase the likelihood of the clear coat running down the lights. But keep in mind that for the clear coat to properly cure, you must leave the headlights at rest for at least 24 hours, better still would be to remove the lights and set them somewhere cool and dry. For around the same 16 bucks, you could purchase a can of clear coat, an assortment of sand paper ranging from 600-3000 grit, a higher quality rubbing compound and a buffer, and do the "permanent" treatment. It will look better and last far longer, because instead of simply shaving a layer off and revitalizing whatever is left, the long term treatment works by applying another layer of more protective coating. The only drawback is that it will take longer to complete, and will require you to remove the headlight on your car to do the task properly. As far as quick solutions go, the 3M restoration kit is definitely no snake oil, but it is not worth doing more than once. If you find yourself needing to clear out the headlights on your car 4-6 months after doing the original treatment, I would suggest doing it using the permanent method instead.